Ready for the next step? Here we go...
Turning the Seam Allowance
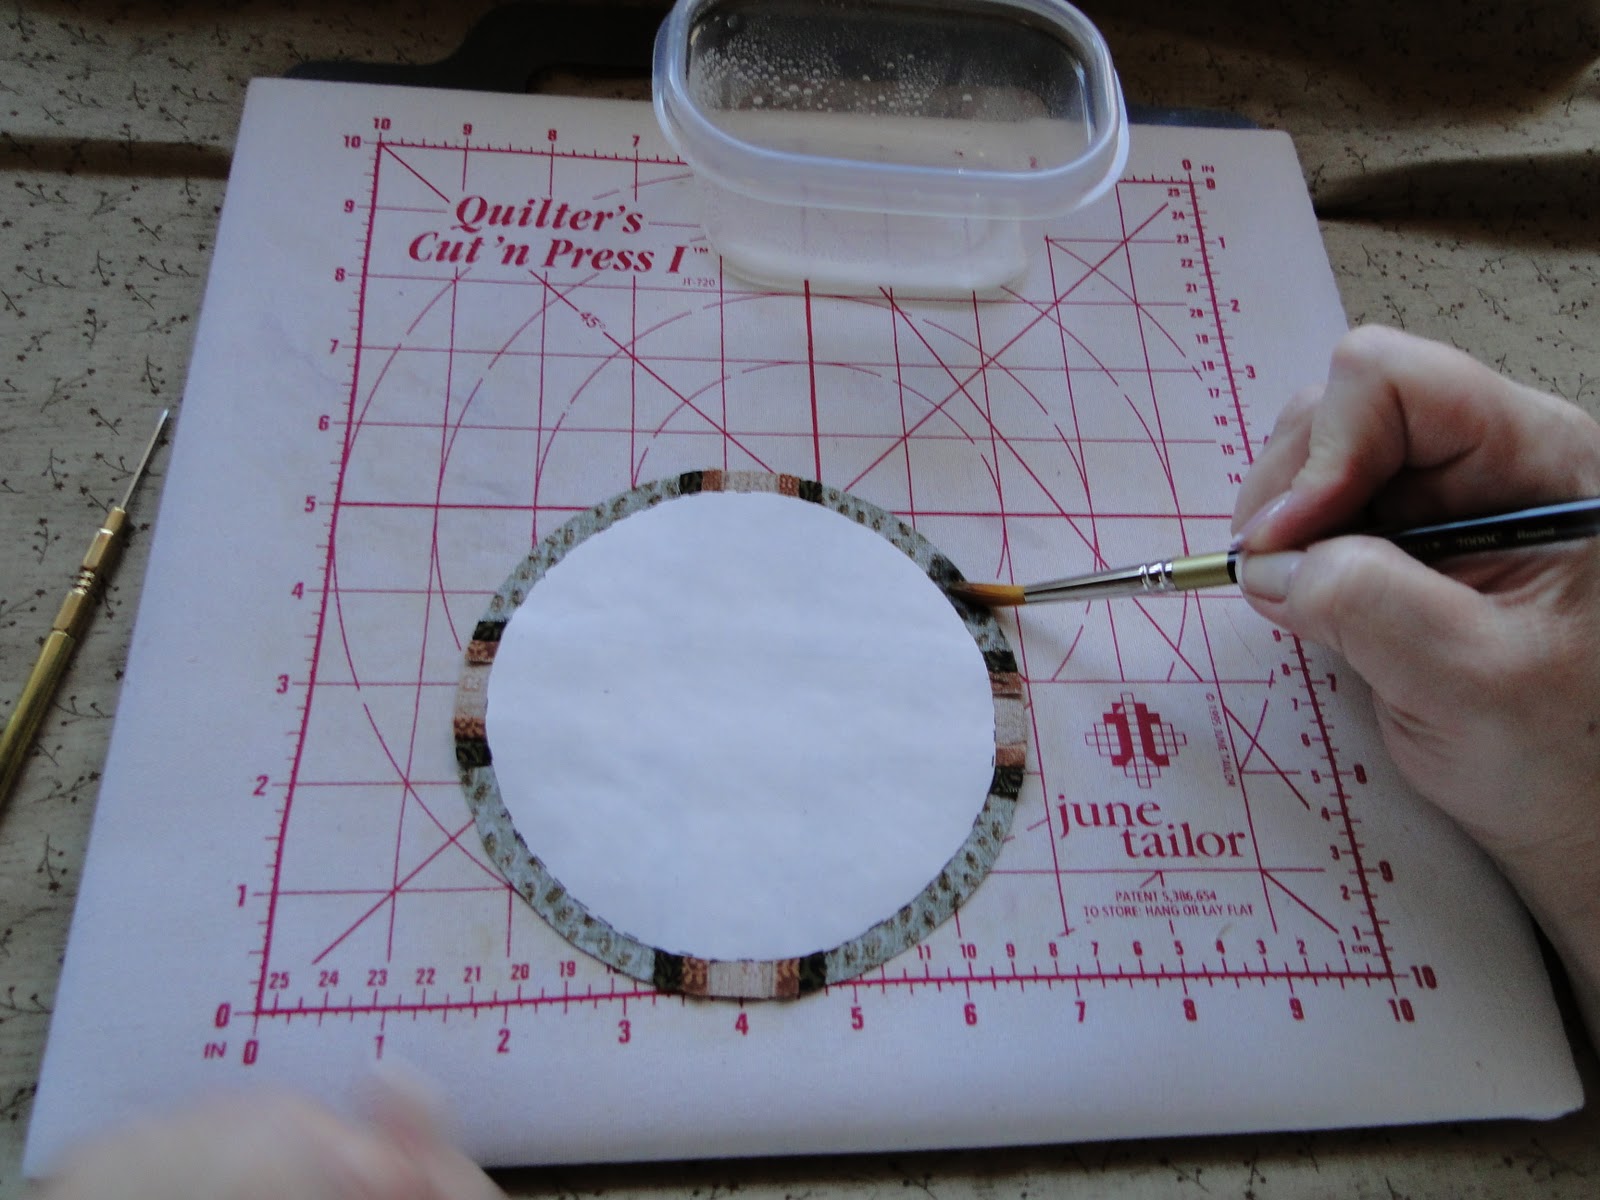
You'll need a few basic tools as shown in the photo above. Gather the following items:
* A pressing surface. I use the June Tailor Cut 'N Press because I like to work on the appliques at a counter in my sewing room, but your ironing board will work as well.
* A small container. A deli container works nicely, or whatever you have handy.
* A can of spray
starch.
* A brush. This should be a natural bristle brush because a nylon brush lets the starch just run out of the bristles. A natural bristle brush holds the starch, then releases it evenly. I use a Lowe-Cornell number 8 round brush (which is actually tapered nicely at the tip). They are about $10 at Michaels. Use your 40% coupon! It's worth it!!
* A Clover mini iron. You may wonder about this iron, but it really is necessary. You can try to use a regular size iron, but you'll struggle with it and it just doesn't work well. It's worth the investment. Your local quilt shop can get this item for you.
* A Stiletto. Also very necessary. Don't try to substitute using a seam ripper or bamboo stick. They just don't work. Believe me, I've tried and many of my students have tried. Your quilt shop can get this also.
Five simple items are all you need for this technique. It's a small investment for the tools, but remember you'll have them for years. But first....read on to see if you like the technique!
Spray some starch into the container.
Begin "painting" the starch onto the seam allowance. It's very important that you try to keep the freezer paper dry. It's not a tragedy if you wet it some, but try not to. The freezer paper needs to be dry and stiff so it can form your applique shape. You can paint as much of the seam allowance as you want. I generally keep a couple of inches wet ahead of where I'm working.
Using your stiletto in your left hand, bring the seam allowance over the freezer paper. This will feel weird....all thumbs at first. Practice a bit. It becomes second nature in no time! Promise!
While you're holding the seam securely in place with the stiletto, bring the iron just to the area you've folded. Hold it there until it's dry. When dry, the starch will keep the seam folded over.
Continue working around the entire circle, adding gathers in the fabric when needed. If you get points, peaks, and divots, don't worry! Just wet them with the starch and use your stiletto to smooth them over, then repress them dry.
Your applique will look like this when it's finished.
Now, here's the best part! When you're ready to stitch the applique, remove the freezer paper before stitching it in place!! Yes, before stitching! This is why I love this technique. I don't want to be fooling around with cutting the back of the block/applique after stitching. I don't want to submerge my work in water to get the paper out! No need with this technique.
The seam allowance stays folded. Now, I can stitch by hand if I prefer, or by machine. I've done both. The applique itself is soft and pliable, just like needle-turn would be.
Stay tuned for the last lesson. I'll show you how to stitch your applique with your machine so it's barely visible. Please let me know what you think so far?
As with any new skill, practice makes perfect. If you're in the Chicagoland area, I will be teaching this technique in a workshop on March 26, 2011 at
The Quilt Merchant in Winfield, IL. I'd love to have you join us!
*~*~*~*~*~*~*~*~*~*~*~*~*~*~*
I wanted to answer the question about stabilizer....there is no need for a stablizer as the freezer paper is, in essence, a stabilizer. The freezer paper is also wonderful in that you can mark your pieces, make notes, arrows, etc, to aid you in assembly. Remember, too, that if things aren't working out with a particular piece, you can always remove the freezer paper, press your fabric and start over! I encourage you to try this and practice a bit. The learning curve isn't bad a all!